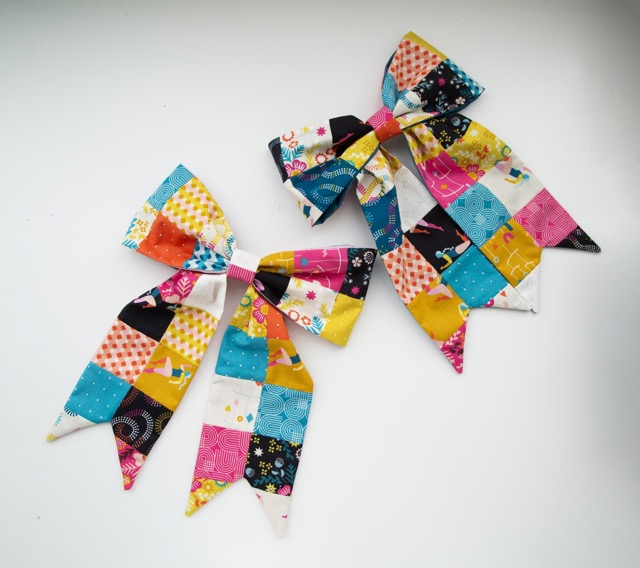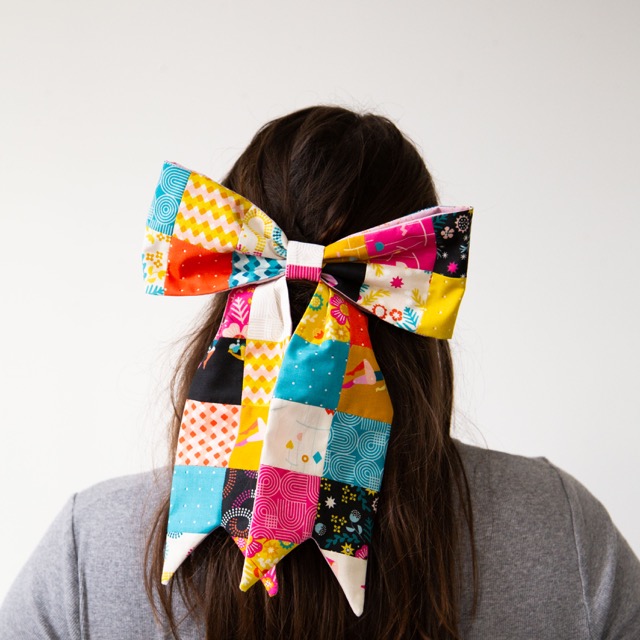
Pivot Patchwork Bow
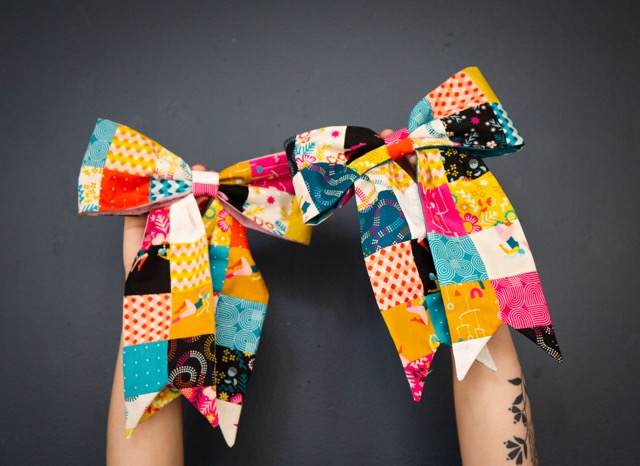
You may have noticed (and if you haven’t you will now) - that bows are having a m o m e n t.
To celebrate we’re sharing a fun tutorial for you to create a bow using those mini charms you’ve been collecting!
Perfect for completely a hair look, but also for tote bag handles, adorning a shirt or belt, or even on a wreath!
You will need:
- 1 mini charm pack (we used Pivot, which is in stores now!), 1 fat quarter, 1 hair elastic or barrette clip (or other clip if you would prefer to attach it to a bag or lapel)
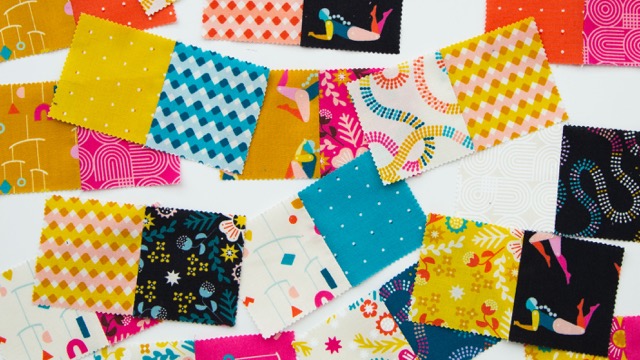
1. Sew your charm squares into pairs, making sure to mix up the fabrics/colors
2. Iron your seams open (to prevent some bulk)
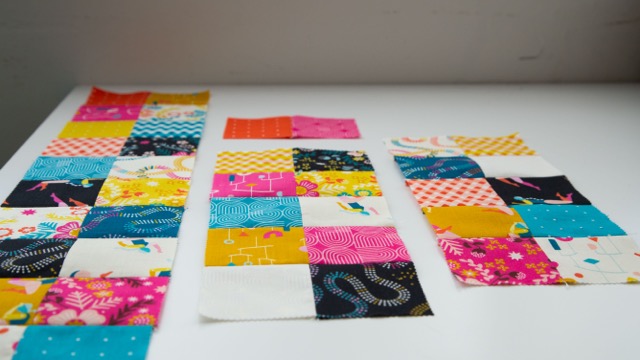
3. Sew your pairs into: 1 set of 10 pairs, 2 sets of 5 pairs. You’ll have one lonely pair leftover (this is for the bow center- set aside for later).
4. Iron the rest of your seams open
5. From fat ¼ cut (1) 4.5 x 20.5 inch rectangle, (2) 4.5 x 10.5 inch rectangle, and (1) 2.5 x 4.5 inch rectangle
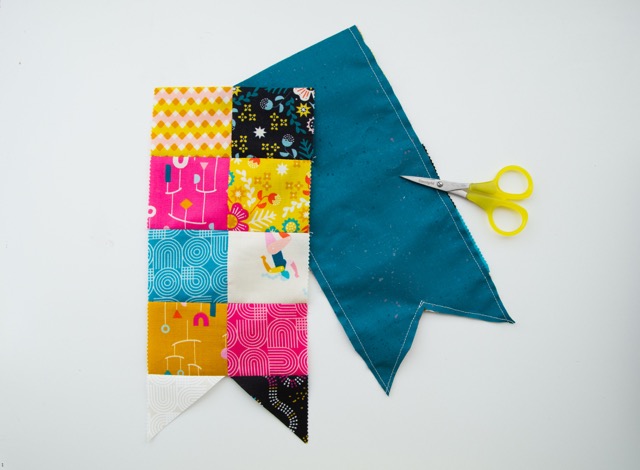
6. For your two bow tails - the 4.5 x 10.5 size patchwork pieces and fat ¼ rectangles, Trim on the diagonal on the bottom two charm squares like picture, sew together along the edges, leaving the top of the bows open for turning. Trim bow tips, and grade seams (carefully trimming seams to less than a ¼ inch) this will help make your bow tips more pointy.

7. Fold open ends of these pieces as shown in pic. Stitch a ¼ inch to hold folds in place. Set pieces aside.
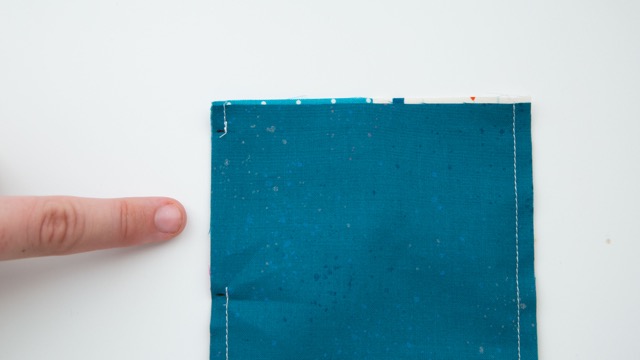
8. Take the large patchwork bow piece, and your 4.5 x 20.5 rectangle. With RST, Sew down each long edge, leaving the ends open for turning, and leaving a 2.5 inch opening as shown in pic above. Sew a quarter inch from the edge and back stitch, leave a 2.5 inch gap - start stitching again - do the same for opposite end. (Your bow tails will be inserted into these gaps later).
9. Turn piece rightside out, and press.
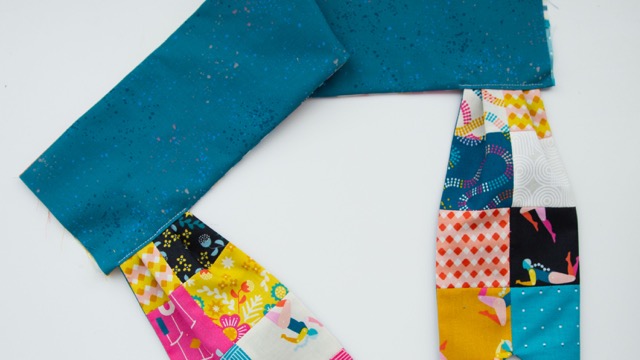
10. Insert bow tails into the slots you left open. The back of the bows should be facing out. (When the bow is folded - they will be facing the correct way) stitch an ⅛ inch from the edge.
11. Take the two open edges from images above and stitch a quarter inch from the edge down that opened edge. Fold bow so the stitched, but open edges are on the back (or on the inside middle of the bow). Either way, it’ll be hidden in step 12 when you:
12. Gather in center (you may find it helpful to pin or clip to keep it cinched before and while you attach the center piece
13. Make center bow piece - Stitch RST your final 2.5 x 4.5 section, with a coordination 2.5 x 4.5 piece from your fat ¼ and then turn right side out and press
14. Gather in center, wrap 2.5 x 4.5 piece around center - you may find pinning or clipping helps during this stage. Stitch carefully to secure the edge of the 2.5 x 4.5 piece - it should be tight enough to keep the bow shape nice and firm.

15. Using glue, tacky or other - glue your barrette, elastic, or other clip to the bow - secure and let dry. Glue or stitch any loose pieces, as well as securing the bow to both sides of the barrette (into the little cut circles on the clip).
WooHoo! You made a bow and you are SO in style.
Now go show it off wherever and however you’d like!
